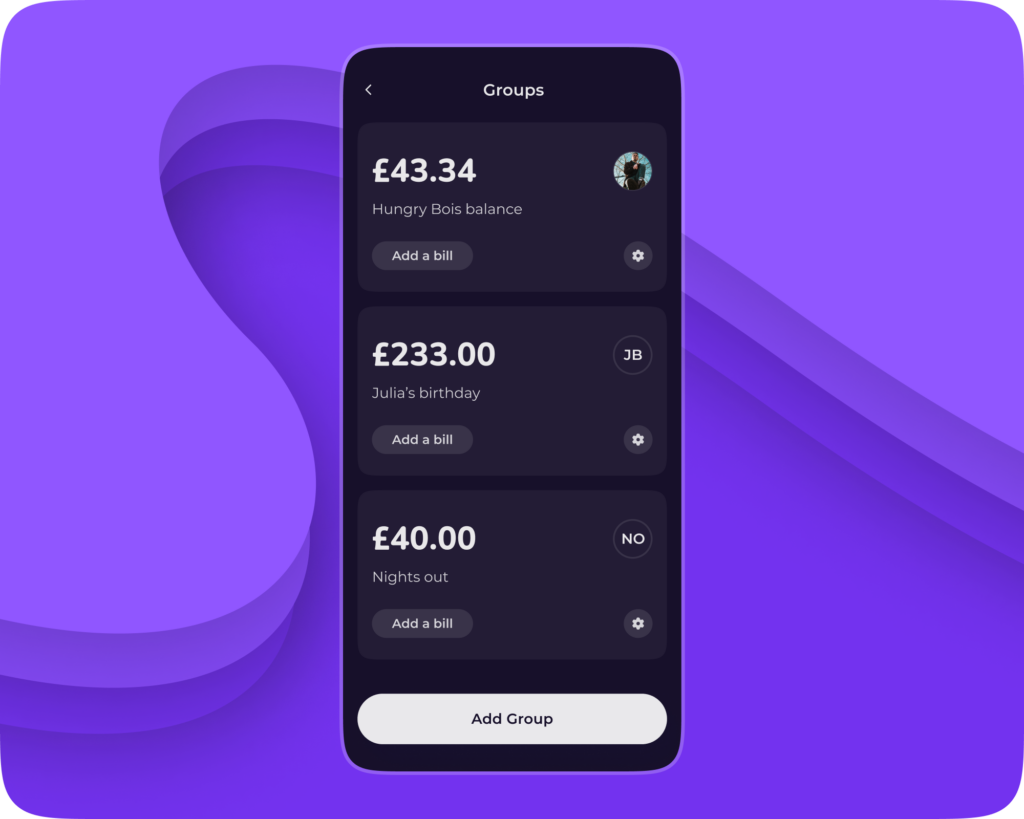
Last week we announced that we were releasing Peer 2 Peer Payments in Emma. This new feature lets Emma users send and request money directly in the Emma app. We’re now expanding this feature to include Emma Groups.
Emma Groups will make managing money between friends easier than ever. Trying to work out who owes what for lunch, drinks, or even household bills? Create a group in Emma and track, split, and settle shared expenses in only a few clicks.
What Can You Use Groups For?
- Keep track of who owes what – whether you’re on a group holiday, living with a flatmate, or simply trying to split a bill when you’re out for dinner, use Emma Groups to keep on top of any shared expenses.
- Settle the bill whenever you’re ready – we’ll help you work out exactly what needs to be paid and to who, so everyone always pays their fair share.
To get started with Groups, just head to the Pay tab, then click on the button that says “Add new group”.
You’ll see two buttons; Add a Group and Join a Group.

How Do You Add A Group?
Click Add a Group to create your first group, then decide on a group name.
You then need to invite your friends to join the group. There are three ways you can do this.
The first is by selecting their name from your contact list. If the person you’re inviting already has Emma, your new group will be created by clicking the “next” button.
If you’re trying to add someone to the group that hasn’t downloaded Emma, you’ll need to click on the “invite” button before they can be included in the group. This is the second way you can invite someone to a group.
Pressing the invite button will send that person a message asking them to download Emma. You can also invite someone by clicking into your group and then pressing the cog in the top right corner. You’ll see a button that says “Invite via link”.
The third and final way you can invite people into your group is by pressing the “Invite via code” button. This will give you a short sequence of numbers and letters that your friend can easily input into Emma by clicking on the Join A Group button.
When the group has been successfully created, you can then start adding any transactions that you’d like to split between your friends.
Delete A Group
If you have settled the bills from a certain group you can delete it by clicking into the group, and pressing the cog in the right-hand corner. You’ll then see a bin icon in the top right.
More Need To Knows:
- You can access this feature by clicking on our “Pay” tab.
- The feature lets you add any transaction in Emma to a Group, or you can manually create a custom transaction.
- You can add your own image to a Group by clicking on the small + sign.
- To view your list of transactions in a group, simply swipe left. Swipe right to view a list of who owes what.
We hope that Emma Groups will see the end of chasing housemates for money, will mean you’ll never forget to pay friends back for drinks, and can avoid any unnecessary awkward money conversations.
If you haven’t used our new Groups feature yet, why not give it a go! We’d love to hear how you’re getting on with the feature, too. You can tell us by joining the conversation on the Emma Community, or by dropping us a message on Twitter.


Add comment